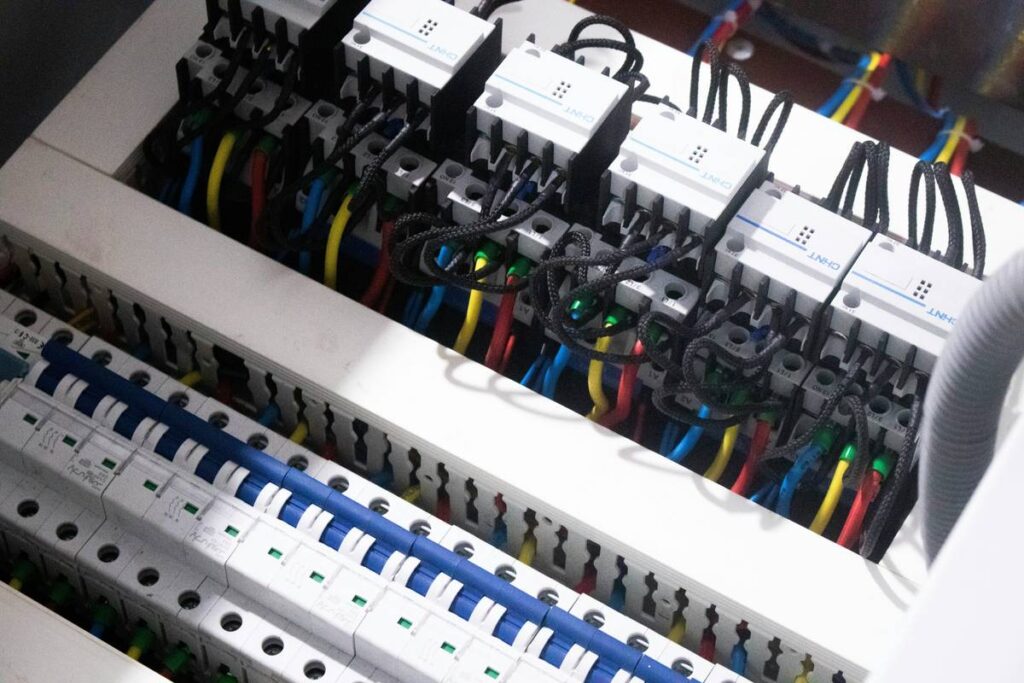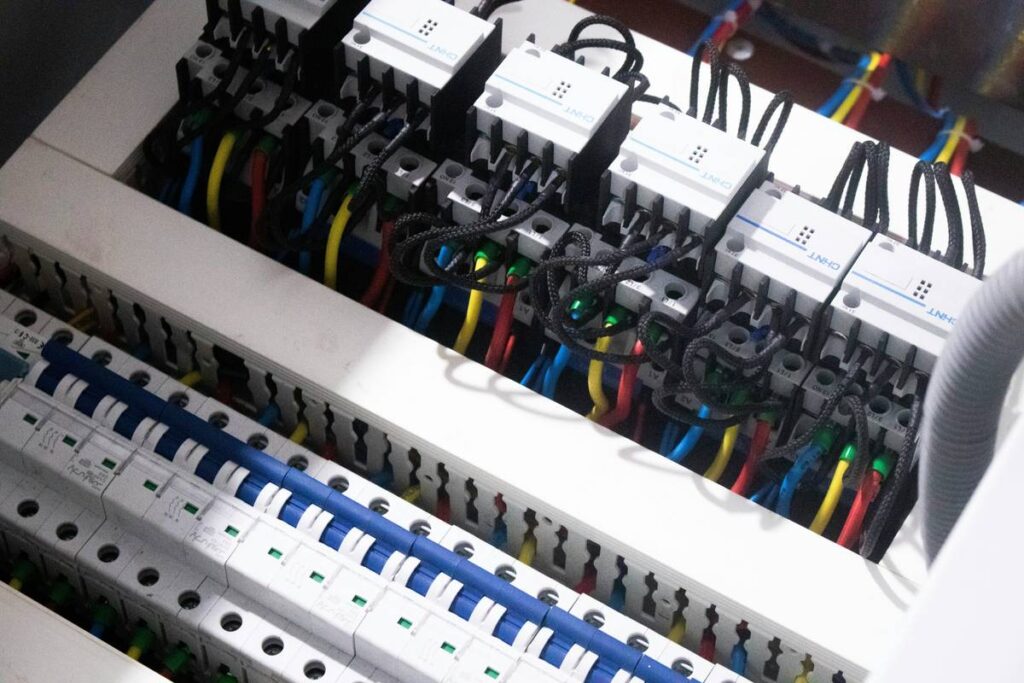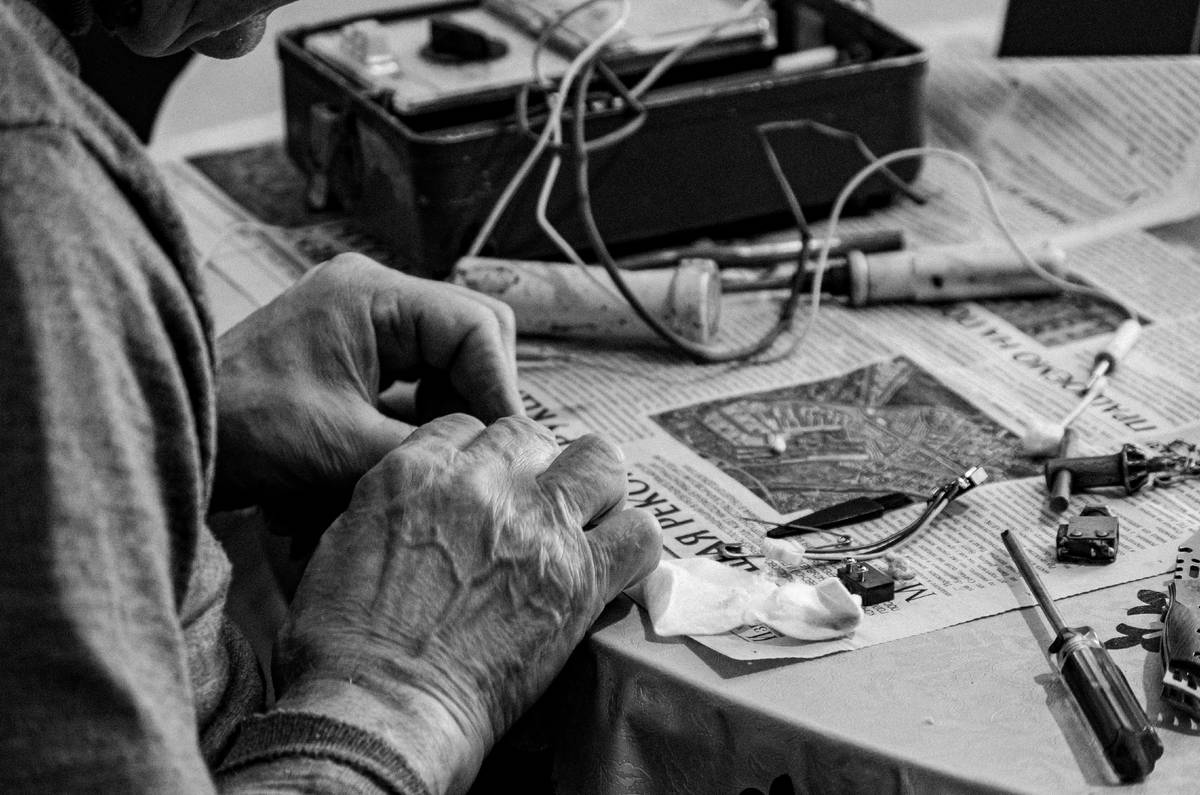
If you’ve ever stared at a solar panel wondering which wire goes where—while sweat drips onto your inverter—you’re not alone. Miswiring is the #1 reason DIY solar projects fail, often causing system damage or even fire hazards. At ATT Advanced Wireless Service, we’ve seen it all: reversed polarities, undersized cables, and junction boxes fried by DC arcs. But wiring a solar panel correctly isn’t rocket science—it’s a systematic process backed by electrical codes and common sense. In this guide, you’ll learn exactly how to wire a solar panel safely and efficiently, whether you’re powering a shed, RV, or your entire home.
Table of Contents
- Why Solar Wiring Matters in Home Improvement
- Step-by-Step Guide to Wiring Your Solar Panel
- 7 Best Practices for Flawless Solar Wiring
- Real-World Example: From Mistake to Mastery
- Frequently Asked Questions
Key Takeaways
- Correct polarity and cable sizing prevent overheating and voltage drop.
- Always disconnect panels before working—sunlight can generate lethal DC voltage even on cloudy days.
- Use MC4 connectors rated for outdoor use and UV resistance.
- Comply with NEC Article 690 and local permitting requirements.
- When in doubt, consult a licensed electrician—safety trumps savings.
Why Solar Wiring Matters in Home Improvement
Homeowners often underestimate how critical proper wiring is to solar performance. A poorly wired system doesn’t just underperform—it becomes a latent hazard. According to the National Fire Protection Association (NFPA), faulty DC wiring accounts for nearly 30% of residential solar-related incidents. I learned this the hard way when I installed my first off-grid cabin setup. Eager to save money, I used indoor-rated extension cords instead of PV wire. Within six months, UV exposure cracked the insulation, causing a short that melted my charge controller. Lesson burned in: never cut corners on conductors.
Step-by-Step Guide to Wiring Your Solar Panel
1. Plan Your Array Configuration
Decide if you’ll wire panels in series (higher voltage, same current) or parallel (same voltage, higher current). Series suits long wire runs; parallel offers better shade tolerance. Calculate total voltage and current using your panel specs—never exceed your inverter’s input limits.
2. Gather Code-Compliant Materials
You’ll need:
- UL-listed PV wire (typically 10–12 AWG for residential)
- MC4 connectors (male/female pairs)
- Combiner box with fuses/breakers
- Grounding lugs and equipment
All materials must meet NEC Article 690 standards. Refer to the NFPA 70 National Electrical Code for full requirements.
3. Mount and Ground Panels First
Secure panels to your roof or rack before touching any wires. Bond each frame to a grounding conductor—this prevents static buildup and lightning damage.
4. Connect Wires Using MC4 Connectors
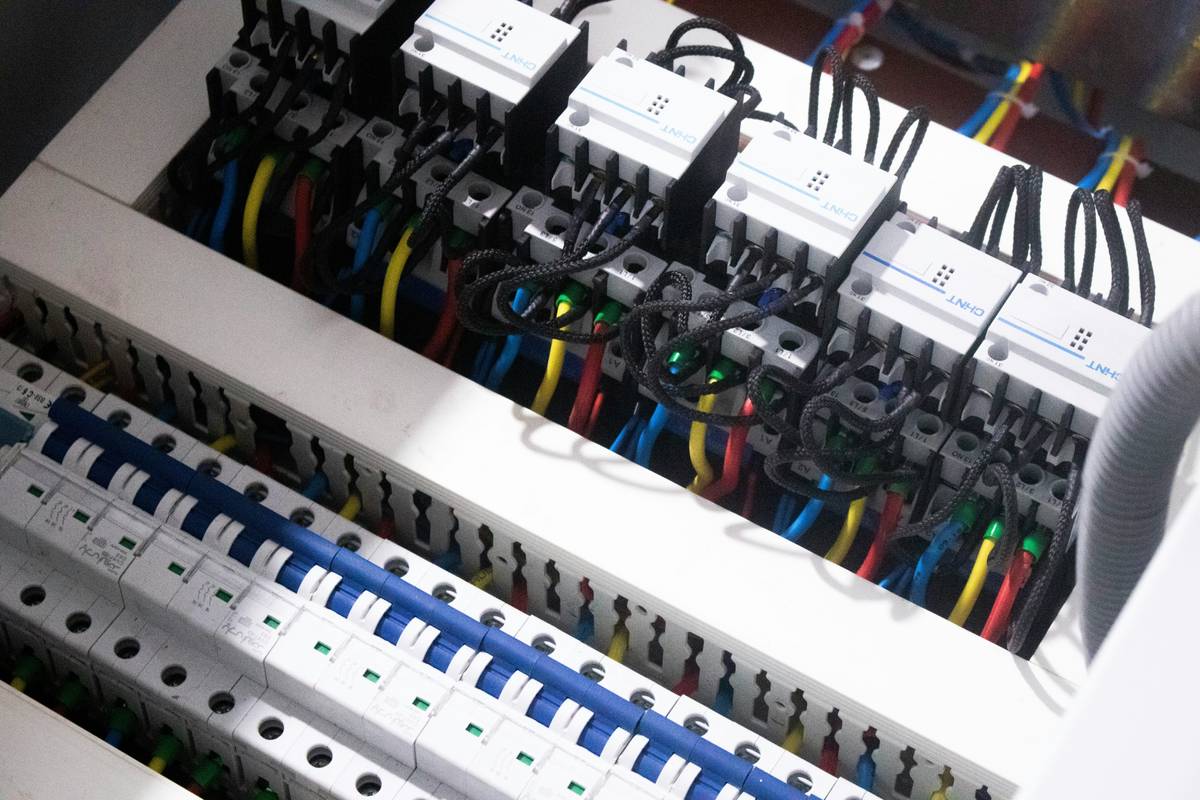
Strip ½ inch of insulation from PV wire ends. Insert into MC4 crimp terminals, then use a ratcheting crimper for secure connections. Never solder or twist-connect—these degrade under thermal cycling.
5. Wire to Combiner Box and Inverter
Route positive and negative leads into your combiner box. Install fuses sized for 1.56× the panel’s short-circuit current (Isc). Then run output cables to your inverter or charge controller.
6. Test Before Energizing
Use a multimeter to verify open-circuit voltage matches expectations. Check for continuity between conductors and ground—there should be none. Only after confirming correctness should you expose panels to sunlight.
7 Best Practices for Flawless Solar Wiring
- Label every wire—use heat-shrink tags with “+” and “–”.
- Maintain drip loops below conduit entries to prevent water ingress.
- Avoid sharp bends—PV wire minimum bend radius is 8× its diameter.
- Use conduit for rooftop runs—exposed wires degrade faster.
- Double-check polarity twice—reverse connection can destroy electronics instantly.
- Wear insulated gloves—DC arcs don’t “trip” like AC; they sustain until broken.
- Document your setup—future you (or an inspector) will thank you.
Real-World Example: From Mistake to Mastery
Last year, a homeowner in Arizona wired four 100W panels in parallel using 14 AWG speaker wire—yes, speaker wire. Voltage drop exceeded 12%, reducing usable power by nearly half. After rewiring with 10 AWG PV wire and proper fusing per NEC guidelines, system output jumped from 280W to 390W on the same day. That’s a 39% gain—just from correct conductors and connections. As we detail in our About Us page, real-world testing drives our advice.
Frequently Asked Questions
Can I wire solar panels without a charge controller?
Only if directly powering DC loads (like a fan)—never connect panels straight to batteries. Without regulation, overcharging destroys batteries within weeks.
What size wire do I need for a 200W solar panel?
For runs under 50 feet, 10 AWG is standard. Longer distances may require 8 AWG to limit voltage drop below 2%. Always calculate based on amperage and distance.
Do solar panels work if wired backward?
No—and worse, reverse polarity can permanently damage inverters and controllers. Most modern units have protection, but not all.
Is it legal to install my own solar wiring?
In most U.S. jurisdictions, homeowners may install solar, but permits and inspections are mandatory. Work must comply with NEC Article 690. Check with your local building department.
Where can I find trusted solar installation help?
If you’re unsure about safety or code compliance, reach out to professionals. We’re always happy to assist—visit our Contact Us page for guidance.
How is my data handled if I request a quote?
All inquiries follow strict privacy protocols. Review our full policy at Privacy Policy.
Wiring a solar panel correctly blends precision with prudence. Get it right, and you’ll harvest free energy for decades. Get it wrong, and you risk fire, fines, or fried gear. Remember: sunlight waits for no one—but good wiring lasts forever. Ready to power your home safely? Contact us today for expert support.